
Last updated November 15, 2026
 Wrought iron
 Wood & steel frame
 Farm & ranch
 Sliding driveway gates
 LiftMaster operators
Free on-site gate assessment - hinges, posts, and your LiftMaster or Nice gate operator checked before anything is quoted
The assessment is free and the quote is the invoice.
Get your free estimateDIY vs Professional Gate Repair: The Tracy Homeowner’s Decision Guide
The most dangerous moment in gate repair isn’t the first time something breaks. It’s the second. A homeowner who successfully rehangs a sagging hinge or clears a sensor lens starts to trust their own hands around the machine. That confidence is the trap. Nothing about tightening a bracket prepares you for low-voltage control wiring, board-level diagnostics, or the alignment work that keeps a heavy slide gate from walking off its track. This guide treats DIY vs professional gate repair in Tracy as what it actually is: a question of which layer of the system you’re touching, not how brave you feel with a screwdriver.
Here’s what we’ll cover. We break a gate into its three working layers (mechanical, electrical, structural), explain which ones are genuinely homeowner-safe, walk through the California license ceiling that governs low-voltage gate work, and flag the exact DIY habits that quietly void manufacturer warranties on systems from Linear, Viking, Ghost Controls, and DoorKing. You’ll finish knowing what you can fix yourself this afternoon and what needs a trained eye, a meter, and a gate specialist.
Quick Answer
Mechanical fixes (a squeaking hinge, a stiff roller, a dirty sensor lens) are safe to handle yourself. Anything involving low-voltage wiring, control boards, operator adjustment, or structural alignment should go to a professional, because the failure consequences range from a dead operator to a collapsed gate panel. In Tracy, where gates contend with dust, summer heat, and hard clay soil that shifts posts, those structural and electrical calls come up constantly, and they’re almost never a job for a homeowner’s first attempt.
Styles & brands we work with
- Wrought iron
- Wood & steel frame
- Farm & ranch
- Sliding driveway gates
- LiftMaster operators
Table of Contents
- The Three-Layer Model: Mechanical, Electrical, Structural
- Which Layer Are You Actually Touching?
- The Legal Ceiling for DIY Gate Work in California
- Your Toolbox vs. a Gate Technician’s Toolkit
- Warranty Destruction: What Voids Coverage on Your Gate System
- The Five Gate Repairs That Are Genuinely Homeowner-Safe
- The Five That Always Need a Technician
- When to Call a Professional
- Frequently Asked Questions
The Three-Layer Model: Mechanical, Electrical, Structural
Every gate, whether it’s a lightweight residential swing gate or a commercial slide gate with a DoorKing operator, has three layers that fail independently. Most DIY advice fails because it treats the whole gate as one machine. It isn’t. Understanding which layer you’re working on is the entire decision.
Layer 1: Mechanical. Hinges, rollers, latches, tracks, chains, and the physical movement of the gate leaf. This layer is the most forgiving. It’s visible, it’s tactile, and a mistake usually announces itself (a grinding noise, a sticking point) before it causes real damage. Most homeowner-safe work lives here.
Layer 2: Electrical. The operator motor, the control board, the low-voltage wiring, the safety sensors and photo eyes, the receiver, and the access hardware (keypads, remotes, loop detectors). This layer sits behind a cover for a reason. It’s low-voltage in most residential systems, but low voltage doesn’t mean safe or simple. A miswired control board can burn out the operator, and sensors that fail to trigger are a serious safety matter for anyone in the gate’s path.
Layer 3: Structural. Posts, mounts, footings, and the alignment of the gate in its opening. A gate that has shifted out of true puts strain on every part of the operator. Structural work is where the most expensive misdiagnosis happens: a homeowner replaces the motor when the real problem is a post that moved two inches.
The rule is simple. The higher the layer, the less DIY makes sense. That’s why gate repair is worth understanding layer by layer rather than as a single skill you either have or you don’t.
Which Layer Are You Actually Touching?
Before you reach for a wrench, diagnose the layer. This is a step-by-step way to sort almost any gate fault into one of the three layers. Work through the list in order and stop at the first answer that fits your gate’s behavior.
- Does the gate move freely by hand with the operator disengaged? If yes, the mechanical layer is probably fine and your fault lives in the electrical layer. If it binds, drags, or scrapes, you have a mechanical or structural issue.
- Does the operator respond at all when you trigger it? Silence, clicking, or a humming motor with no movement points to the electrical layer. A gate that runs but stops, reverses, or reverses halfway points to sensors or limit settings.
- Does the gate leaf sit square in its opening? Stand back and look at the gap along the ground and at the posts. A gate that has dropped, twisted, or sits proud on one side is a structural call.
- Is the fault repeatable? A gate that fails the same way every time is diagnosable. A gate that fails intermittently, especially in the afternoon heat, often points to a board or sensor issue that needs a meter to find.
- Would a failure of this part hurt someone? If the component is a sensor, a stop limit, or the board that runs them, it’s automatically a professional job. Safety components aren’t a learning ground.
In our experience around Tracy, gates fail in patterns tied to the local environment. The dry summer dust works into rollers and tracks, so the mechanical layer wears faster than owners expect. The area’s clay-heavy soil shifts with moisture, which is the number one reason a gate that ran perfectly last year now drags. And the long hot stretches push operators and control boards closer to their thermal limits, which is where the intermittent electrical faults show up. Knowing that shape helps you sort a squeak (mechanical) from a gate that stalls only when the afternoon is hottest (electrical, and never a homeowner fix).
The Legal Ceiling for DIY Gate Work in California
Here’s the part most DIY guides skip entirely. California draws a line around gate automation work, and it isn’t just about skill. On paper, low-voltage gate automation and wiring is work that belongs to a licensed C-10 electrical contractor. That’s the legal ceiling, and it sits over the entire electrical layer we just described.
What that means in plain terms for a Tracy homeowner:
- Mechanical work (hinges, rollers, latches, cleaning) is generally yours to do. You’re not touching the electrical system, so the license requirement doesn’t apply.
- Low-voltage wiring, operator connections, control boards, and safety sensor circuits sit inside the C-10 boundary. This is where DIY work stops being a personal gamble and starts being a code and permit question.
- New gate installation involves footing, anchoring, and permanent electrical connections, so it needs a licensed professional from the start. A permit often factors in, and the city’s building department is the right place to confirm what your specific property requires.
This is the honest reason a gate specialist exists as a separate trade. We focus on gates only, which means the electrical layer gets handled by people trained on it rather than by a general handyman who also does plumbing. If you’re planning a first installation or your existing system needs rewiring, ask any contractor for their license before work begins. For our part, we’re licensed and insured, and we can work with your insurer where that’s relevant.
Your Toolbox vs. a Gate Technician’s Toolkit
The tools gap between a homeowner and a gate technician is wider than most people realize, and it matters most on alignment work, which is where amateur repairs go wrong. A gate that isn’t properly aligned will eat rollers, strain operator arms, and trigger false safety reversals no matter how many parts you replace.
| Task | Typical homeowner kit | What a gate technician uses |
|---|---|---|
| Hinge, roller, and latch work | Adjustable wrench, screwdriver, penetrating oil | Same hand tools, plus torque-aware tightening and lubrication matched to the gate’s load |
| Alignment and post checks | Level, tape measure | A transit or laser level to check plumb over the full gate height, not just a single point |
| Electrical diagnosis | Voltage tester (often unused) | Multimeter and a wiring diagram for the specific operator model being worked on |
| Board and operator service | None | Model-specific firmware knowledge and the right test points for Driveway Gates with LiftMaster, FAAC, BFT, Linear, Viking, Ghost Controls, DoorKing, Elite, and Mighty Mule operators |
Notice the pattern. A homeowner’s tools can handle the mechanical layer; the technician’s kit is built for the electrical and structural layers. And the knowledge behind those tools matters as much as the tools. We work on nine major gate brands regularly, from DIY-market systems like Mighty Mule and Ghost Controls up to commercial-grade European operators from FAAC and BFT. That range is the practical difference between a generalist with a wrench and a gate specialist. When a technician already knows the wiring schematic for your specific model, alignment and diagnosis become a matter of minutes rather than guesswork. For a deeper look at what expert electric gate work involves, see our electric gate repair page.
Warranty Destruction: What Voids Coverage on Your Gate System
This is the quiet cost of an overconfident DIY repair. Gate operators come with manufacturer warranties that assume the unit was installed and adjusted by someone who knew what they were doing. Certain DIY actions void that coverage, often without the homeowner realizing it until the operator dies months later.
Specific actions that put coverage at risk:
- Opening the control board enclosure to poke around, especially on systems protected by a seal or tamper indicator. Once the case is opened, the manufacturer can reasonably attribute a fault to the unauthorized intrusion, even if the board was already failing.
- Adjusting force, sensitivity, or limit settings without the model’s setup procedure. On LiftMaster and Elite systems in particular, out-of-spec force settings are where premature motor failure and safety malfunctions originate.
- Rewiring or extending sensor and receiver circuits to relocate a problematic photo eye. This is the single most common DIY move that falls squarely inside the C-10 boundary and simultaneously voids coverage.
- Replacing a board with a third-party part that doesn’t match the original specification. It may run, but a manufacturer can refuse a later warranty claim on the basis of a non-matching component.
- Continuing to operate a gate with a known sensor fault while waiting to “get to it.” A safety fault left running can escalate into operator damage that a warranty claim may not cover.
The frustrating part is that a voided warranty usually only surfaces when you need it. A homeowner adjusts the force setting to stop a nuisance reversal, the gate runs fine for a season, then the operator fails and the claim gets rejected for an out-of-spec adjustment nobody remembers making. We tell it straight: the few jobs where DIY saves money are the ones you can reverse cleanly (a cleaned sensor lens, a lubricated hinge). Anything you can’t undo should go to a technician. Repair or replace is a decision for the specialist, and a proper diagnosis protects the warranty while it protects you.
The Five Gate Repairs That Are Genuinely Homeowner-Safe
We’re not going to tell you every gate problem needs a professional. Some don’t, and pretending otherwise wastes your money. These five jobs are mechanical, reversible, and don’t touch the electrical or structural layers. Handle them with confidence, and know when they stop being small.
- Cleaning safety sensor lenses. Dust, cobwebs, and insects on the photo-eye lenses are the most common cause of a gate that reverses for no reason. Wipe them with a soft cloth. If the reversal persists after cleaning, that’s the sign to call, because the next test involves the sensor circuit itself.
- Lubricating hinges, rollers, and chains. Use a lubricant matched to the part. A well-lubricated hinge prevents the wear that leads to sagging, and a clean, lubricated track keeps the mechanical layer running smooth through Tracy’s dusty season.
- Tightening a visibly loose bolt or bracket. If you can see it move and it’s not a structural mount, it’s fair game. Snug it, don’t over-torque it, and stop if the fixing starts to strip.
- Clearing debris from the gate’s travel path. Leaves, gravel, and yard debris under a slide gate can bind it in place. Clear it and test. A gate that moves freely again was just obstructed, not broken.
- Replacing batteries in remotes and keypads. This is the fix for the majority of “my gate won’t open from the car” calls. Check the remote battery before you assume the receiver is dead, and check the keypad battery before you assume the access hardware failed.
Notice what all five have in common: nothing is opened, nothing is rewired, and nothing is adjusted out of its factory setting. That’s the line. If your repair requires a tool you don’t own, a diagram you don’t have, or a component that isn’t visible, it belongs on the other list.
The Five That Always Need a Technician
This next list is short and firm. We don’t care how many videos you’ve watched. These five repairs carry real risk of injury or equipment failure, and the person doing them should be a trained gate specialist with the meter, the diagram, and the license for the layer involved.
- Control board diagnosis and replacement. The board is where the operator’s logic lives, and a misdiagnosed board replacement is the fastest way to spend twice what the repair needed. Reading a board requires a multimeter, the model’s test points, and a mental map of the whole system. This is core electric gate repair work, not a swap.
- Low-voltage wiring and sensor circuit work. The C-10 boundary lives here. Rewiring a photo eye, relocating a receiver, or connecting a new operator all sit inside licensed electrical work. A gate with a rewired safety circuit that no longer detects an obstruction is genuinely dangerous.
- Structural alignment and post work. A gate that has dropped, twisted, or migrated in its opening needs its posts, footings, and alignment checked. On Tracy’s clay-heavy soil, this is the single most frequent structural call we see, and attempting it without a proper level and footing knowledge usually makes the problem worse.
- Operator motor replacement or repair. Opening an operator motor is rarely reversible and often puts the warranty at risk. A technician will first verify the motor is the actual fault and not a symptom of a board, sensor, or structural problem upstream.
- Anything on a commercial-grade or commercial-spec operator. Driveway gates running on heavier operators from FAAC, BFT, or DoorKing involve wiring, load, and access control that homeowners shouldn’t attempt. The weight and the stakes are higher, and a failure here can hurt someone.
One safety note that applies to the whole electrical layer: gate operators store energy and connect to mains power. Even with the breaker off, treat the inside of an operator enclosure and its wiring as a professional’s zone. A trained technician knows the safe sequence to de-energize and test a system. A homeowner guessing at it is one mistake away from a shock or a dead operator.
When to Call a Professional
Call a professional when the fault sits in the electrical or structural layer, when a safety sensor or stop limit is involved, when the gate has shifted out of its opening, or when your “small fix” didn’t resolve the problem in one attempt. Also call if the gate is on a commercial-grade operator, if you’ve had to adjust a setting to coax it into running, or if the warranty still matters to you. Those are the points where a trained eye costs less than a series of guesses.
Gate Repair Tracy offers free estimates in Tracy, so you can get a clear diagnosis and a written price before deciding. Call (844) 834-1771. We answer 24/7. Fast dispatch from 7am to 7pm, Sunday through Friday.
See the difference
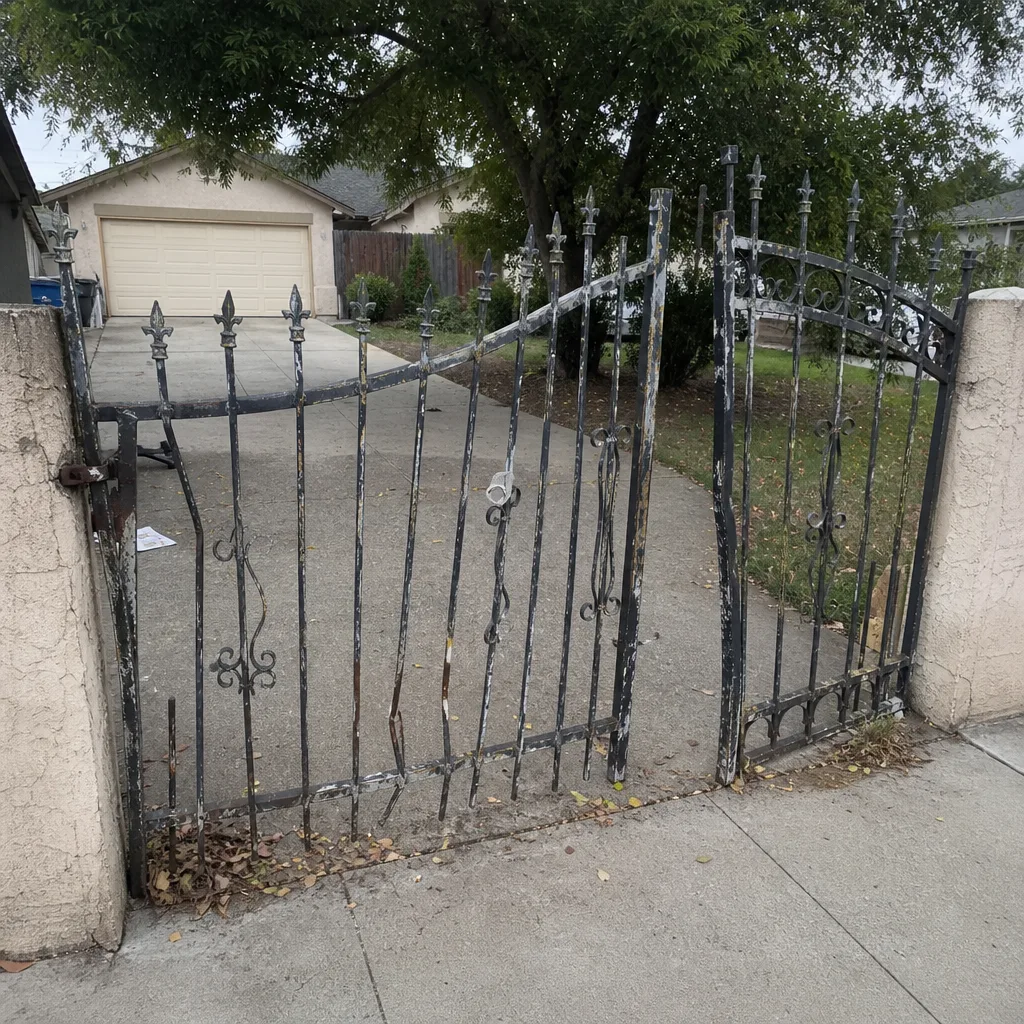 Before
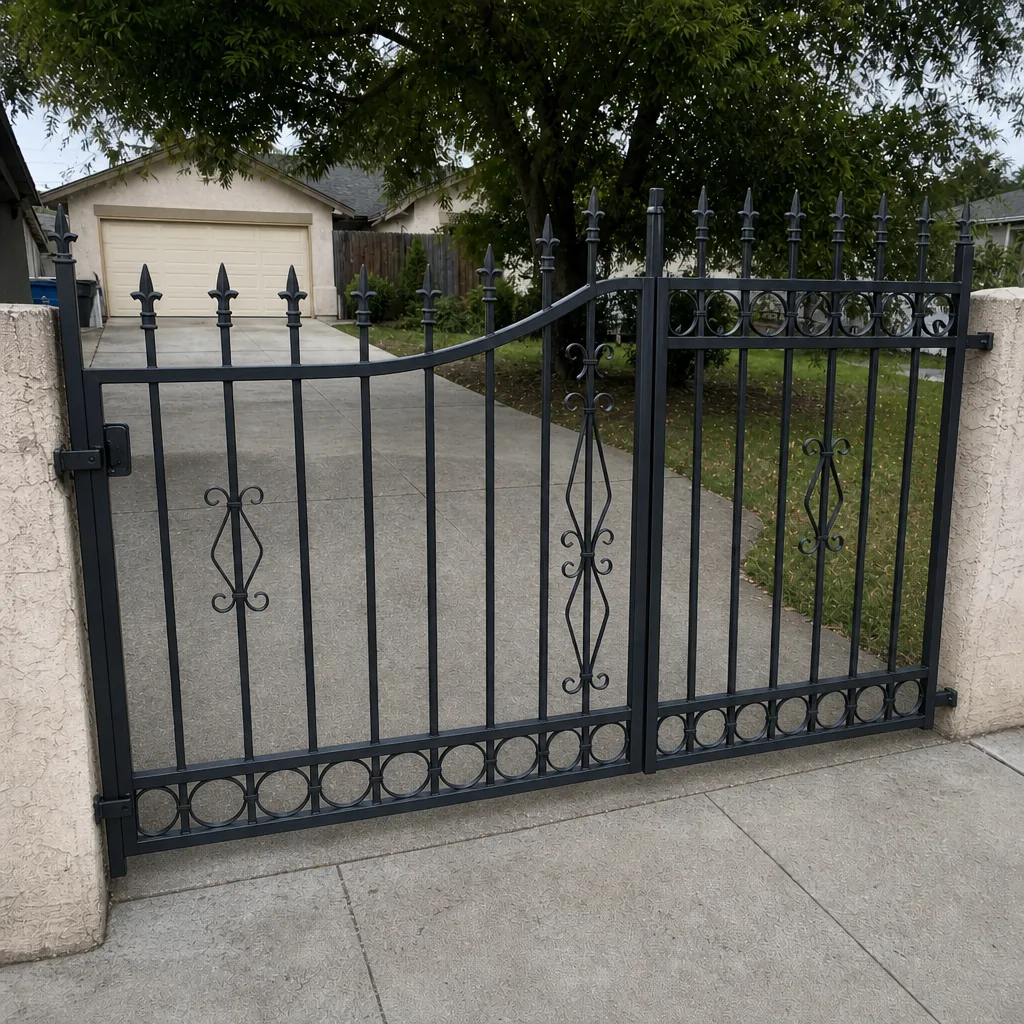 After
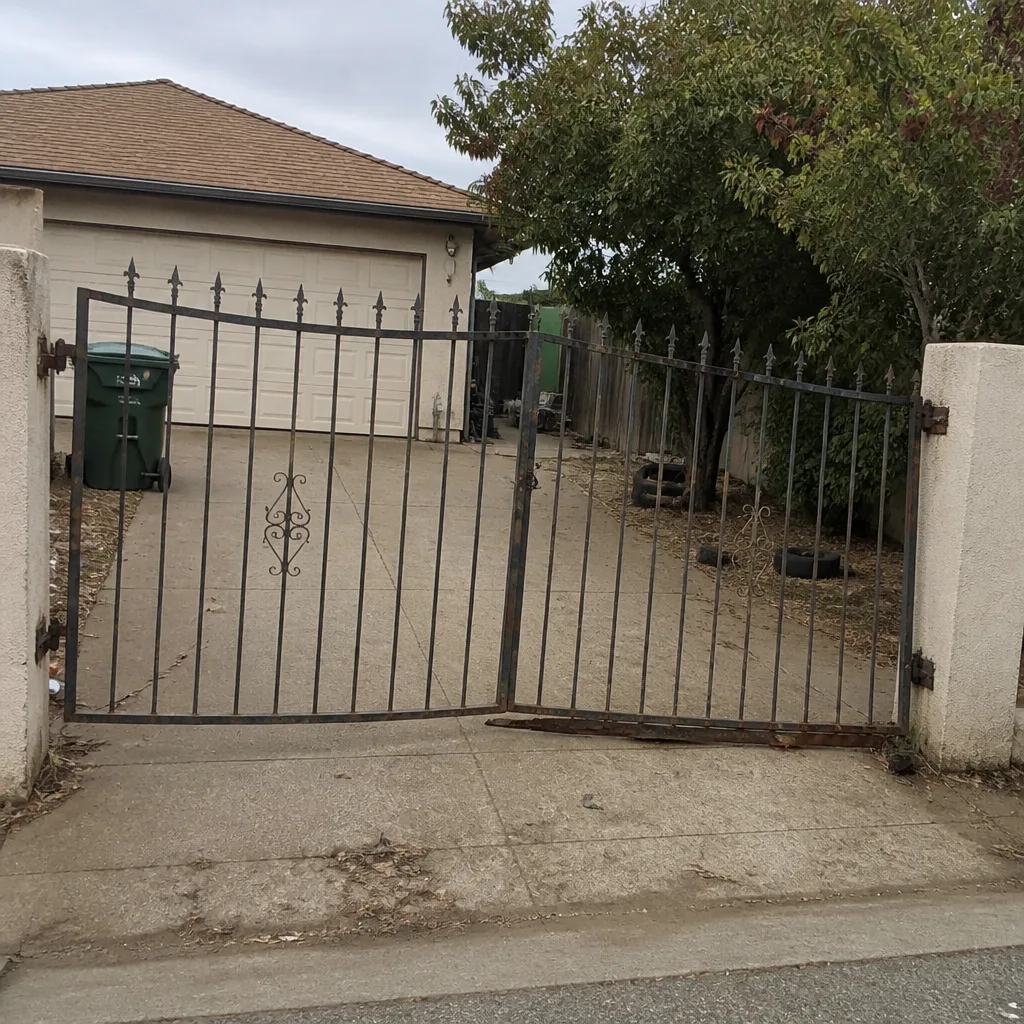 Before
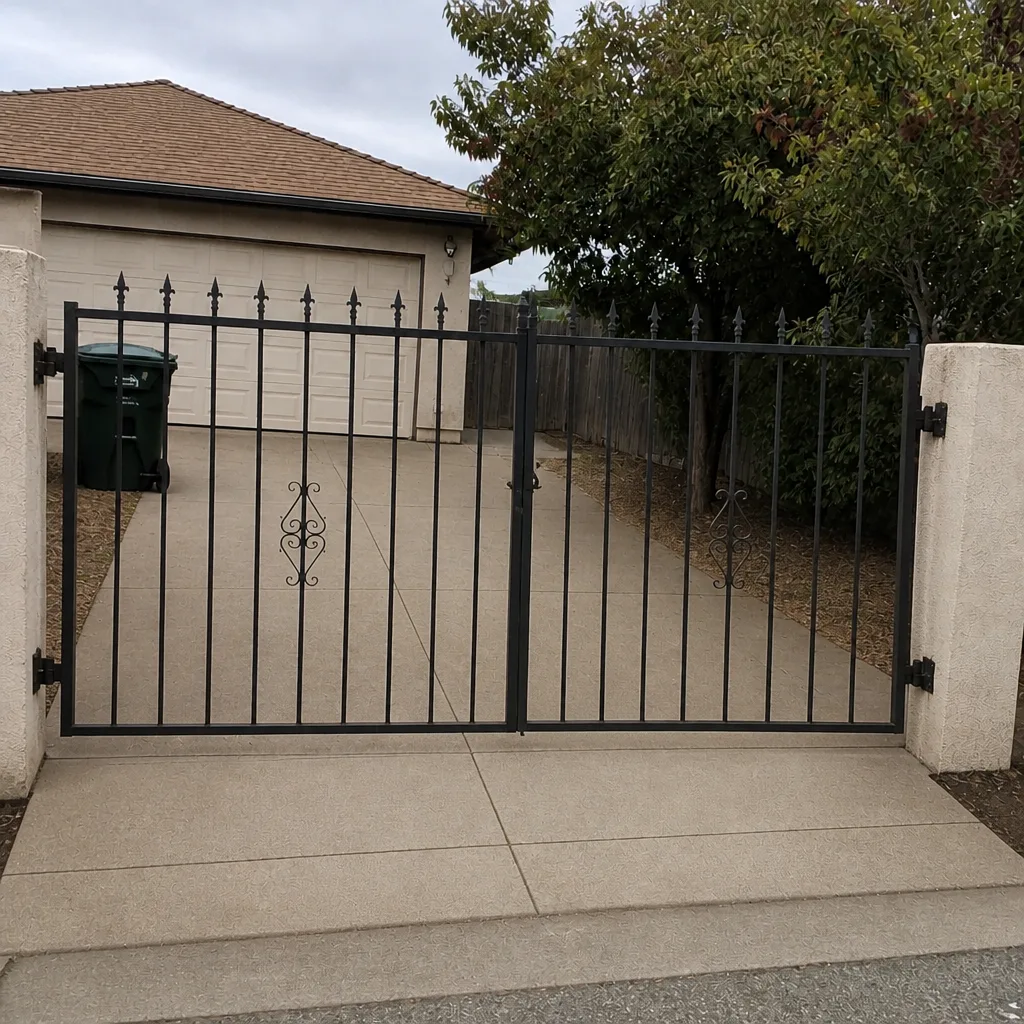 After
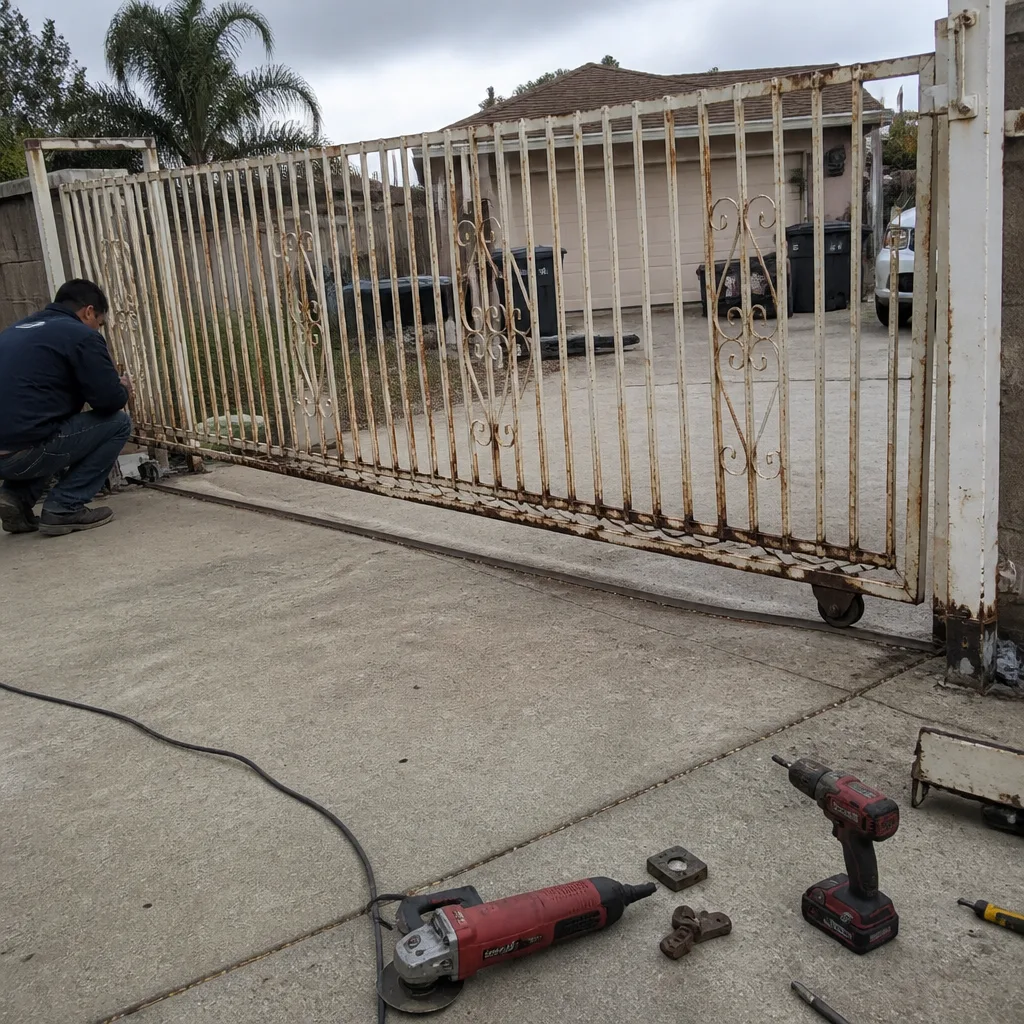 Before
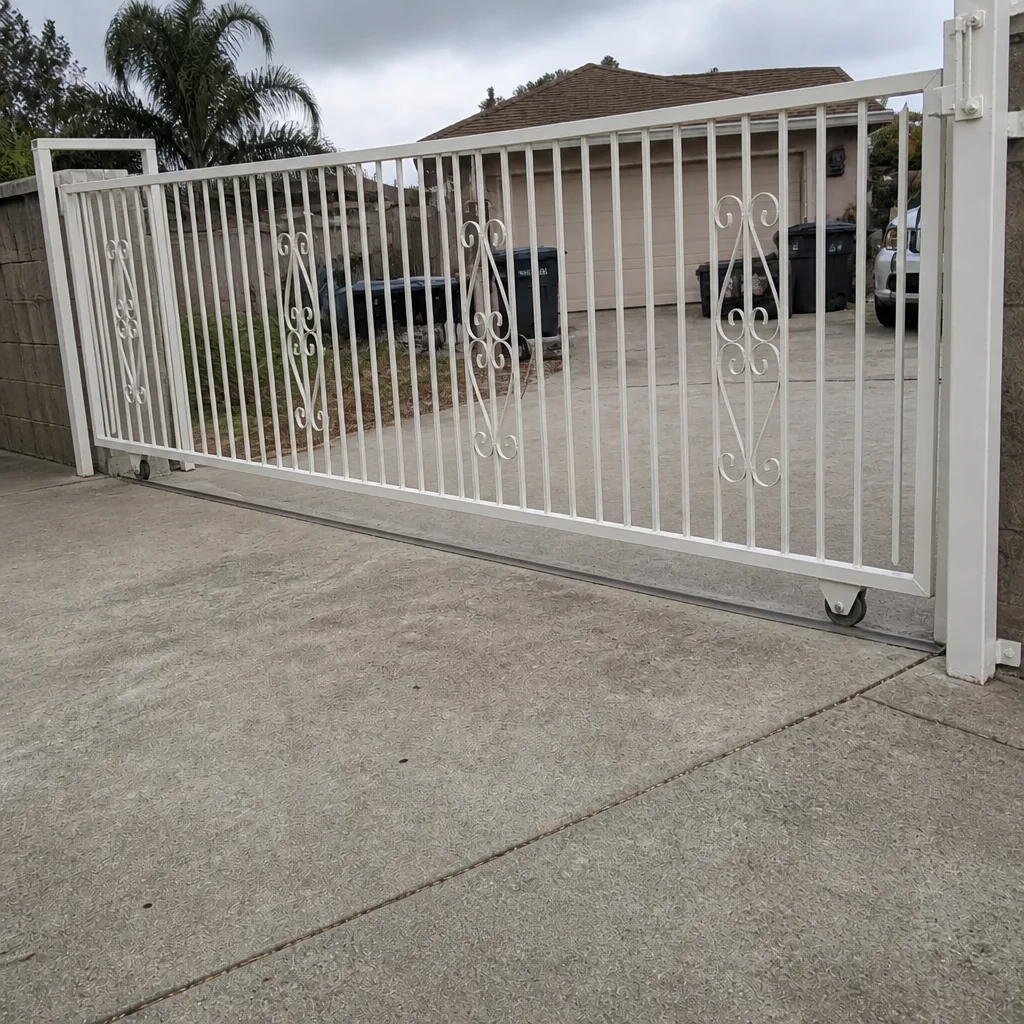 After
Common Mistakes to Avoid
- Adjusting force and sensitivity settings to stop a nuisance reversal. It suppresses the symptom while masking the real cause, usually a dirty or misaligned sensor, and it can void the warranty on LiftMaster and Elite systems. Clean the sensor first, then call if the reversal returns.
- Replacing parts before diagnosing the layer. A sagging gate drags the operator out of alignment, so the operator fails. Homeowners replace the operator; the post was the problem. Sort mechanical, electrical, or structural before you touch anything.
- Rewiring sensor circuits to move a photo eye out of the way. This is squarely inside the C-10 boundary and voids coverage at the same time. The correct move is to relocate the obstruction or call a technician, never to lengthen the wire.
- Ignoring the clay soil at the posts. A gate that won’t stay aligned through the rainy season usually has a footing problem. Tightening the hinge bolts treats the symptom; a structural check treats the cause.
- Continuing to run a gate with a known safety fault. A gate that fails to detect an obstruction is a hazard to anyone in its path, from a child on a bike to a delivery driver. Stop using it and get it diagnosed properly.
- Opening an enclosure to “take a look.” It’s the fastest way to void a warranty on a system you were otherwise going to get covered, and it exposes you to live and stored energy you’re not equipped to handle.
- Skipping the permit question on a new installation. A first-time installation involves structural and electrical work. Ask the city’s building department what your property requires before any contractor starts, and confirm the license for the electrical layer.
Frequently Asked Questions
You can safely handle mechanical jobs: cleaning sensor lenses, lubricating hinges and rollers, tightening visible bolts, clearing debris, and replacing remote batteries. Electrical and structural work should always go to a professional. The dividing line is whether you’re opening a component, adjusting a setting, or touching a post.
The five homeowner-safe jobs are cleaning safety sensor lenses, lubricating hinges, rollers, and chains, tightening a visible non-structural bolt, clearing debris from the gate’s path, and replacing remote or keypad batteries. All five are reversible and don’t touch the electrical or structural layer. If a job requires opening a component or adjusting a setting, it isn’t on the safe list.
No. Low-voltage gate automation and wiring is work that falls under a licensed C-10 electrical contractor on paper, which means rewiring sensor circuits, connecting operators, or relocating photo eyes isn’t a homeowner task. Beyond the legal boundary, a miswired safety circuit can fail to detect an obstruction and put people at risk. Call (844) 834-1771 for an exact quote on wiring and electrical work; estimates are free.
It can. Opening a control board enclosure, adjusting force or limit settings out of spec, rewiring sensor circuits, or fitting a non-matching third-party board are all grounds for a manufacturer to deny a later claim. The safe approach is to limit DIY to the reversible mechanical jobs and leave anything inside the operator or its wiring to a technician.
Gate repair is priced per job by a written estimate, and the price is set after we look at the gate and diagnose which layer is failing. We give free estimates and quote the price before any work begins, so you know the number before you decide. Call (844) 834-1771 for an exact quote; estimates are free.
Yes, for the mechanical jobs only: lubrication, debris clearing, and remote battery changes. Commercial-grade operators from DoorKing, FAAC, and BFT involve higher loads and access control wiring where a homeowner fix does more harm than good. If the fault involves the operator, the board, or the wiring, it needs a technician. Call (844) 834-1771 and we’ll diagnose it.
Four things: clean the sensor lenses and test again, check the remote battery, look at whether the gate sits square in its opening, and confirm the gate moves freely by hand when the operator is disengaged. Those checks tell you the layer and help any technician start a step ahead. If the fault remains after those checks, call us for a free estimate in Tracy.
The Bottom Line
DIY vs professional gate repair in Tracy comes down to the layer, not your confidence. Mechanical fixes (lubrication, sensor cleaning, debris clearing) are yours to handle, and doing them keeps the mechanical layer healthy. Electrical work sits behind California’s C-10 boundary and can void a manufacturer warranty, so control boards, wiring, and sensor circuits go to a technician. Structural alignment is the same call, especially on Tracy’s shifting clay soil. We’d rather tell you which job is which than sell you a repair you don’t need. If you’re past the safe list, call (844) 834-1771 for a free estimate. We handle LiftMaster, FAAC, BFT, Linear, Viking, Ghost Controls, DoorKing, Elite, and Mighty Mule systems, from residential gates to commercial operators.
If you’re planning a first installation or comparing a repair against a replacement, our team at Gate Repair Tracy is glad to walk you through it. And if you want to know more about the areas we look after, see our local Tracy page.
Written by the team at Gate Repair Tracy.